Elevate your pet's dining experience with our premium dog food, thoughtfully crafted to nourish and delight. Packed with wholesome ingredients, our recipes ensure a tail-wagging feast that meets the highest standards of nutrition for your beloved canine companion.

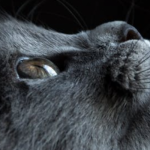
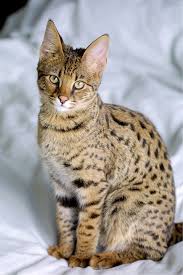
Step into a realm of feline fascination with our exotic pet cats, where rare breeds grace your home with unparalleled elegance. From the elusive Bengal to the enchanting Sphinx, our curated selection brings the allure of the wild into your domestic haven.

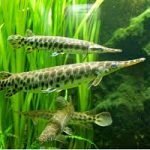
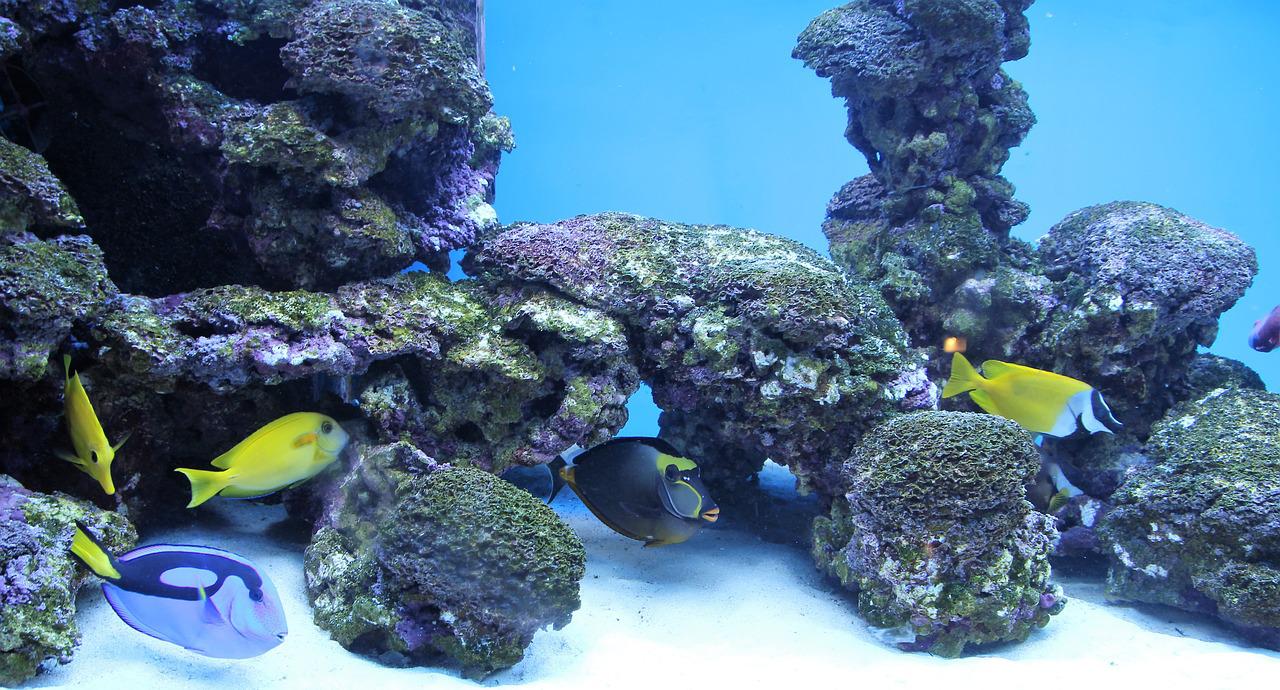
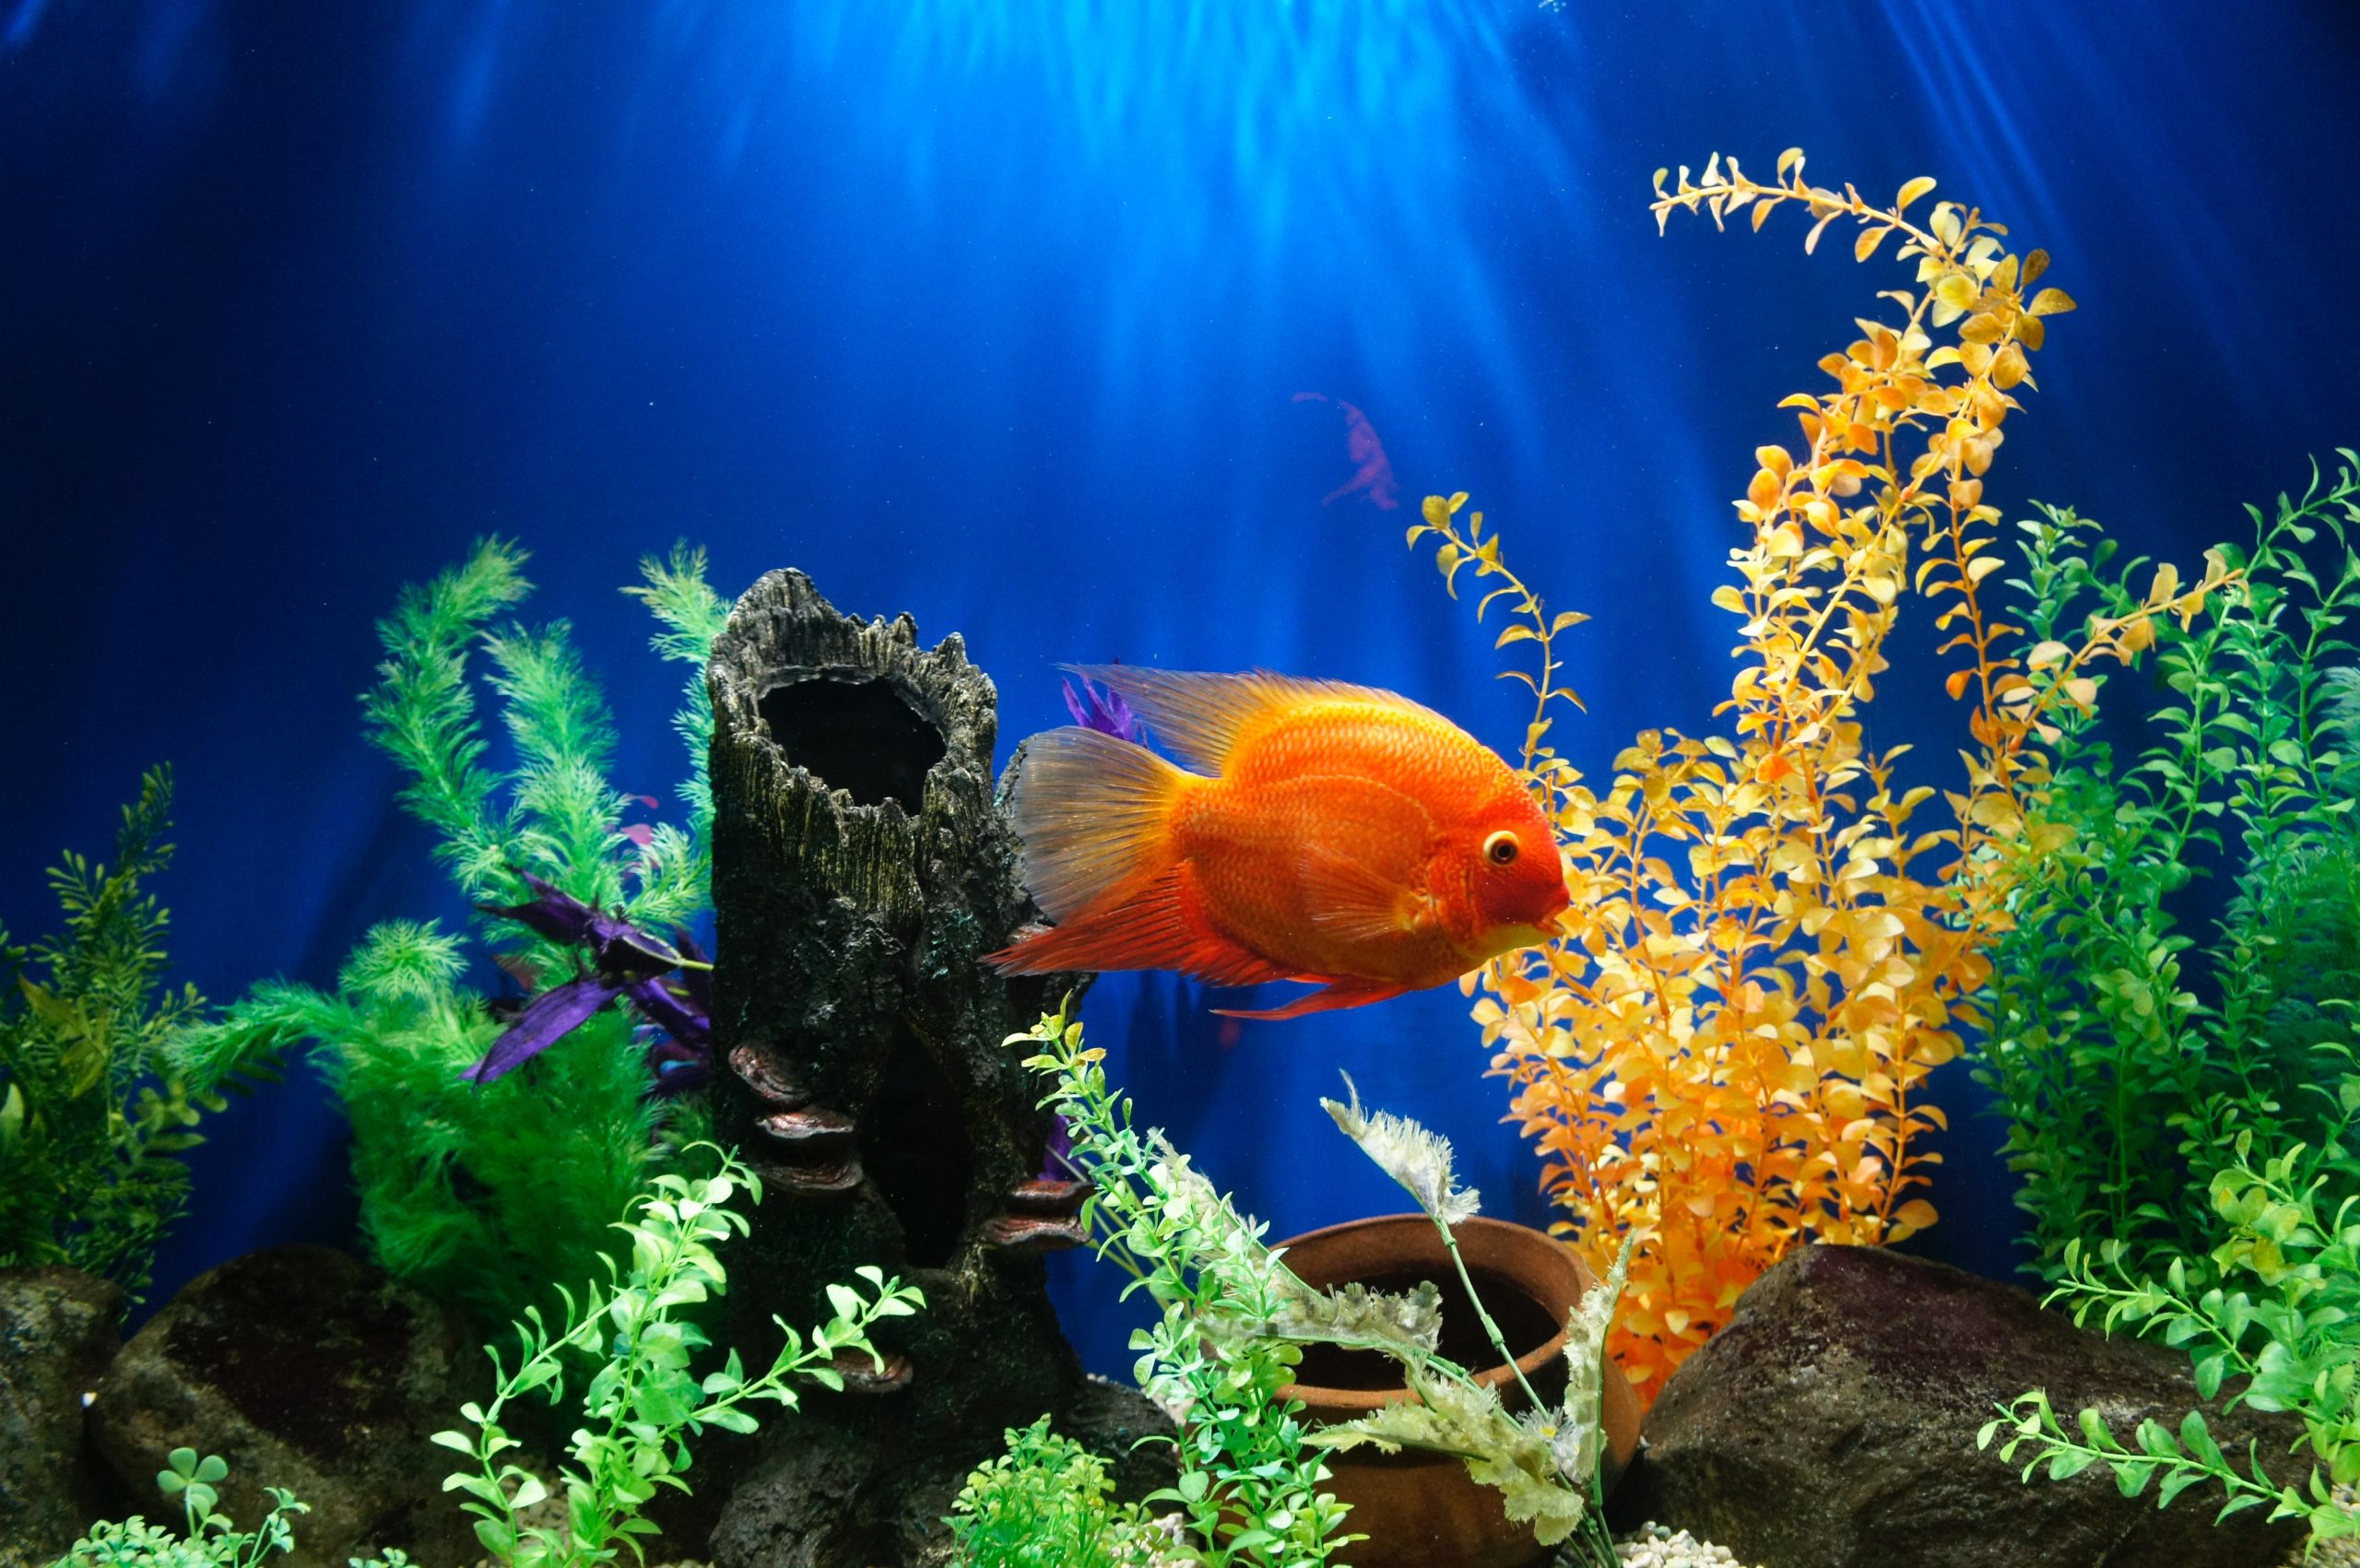
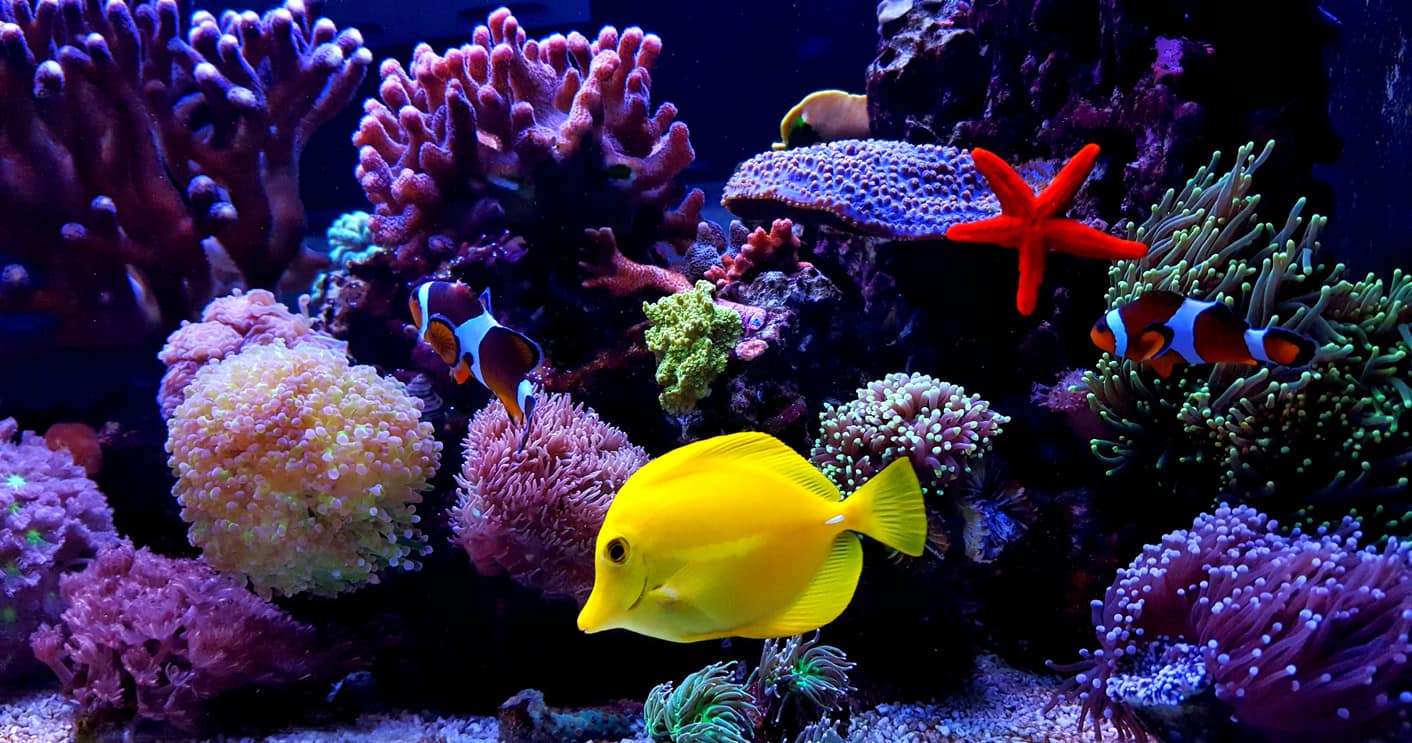
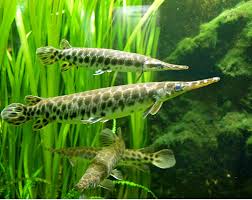
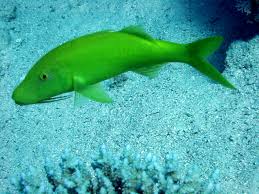
Dive into the tranquil world of freshwater pet fish, where vibrant colors dance through crystal-clear waters. Our selection of finned friends promises an aquatic paradise for enthusiasts, offering a spectrum of species to transform your home into a captivating underwater haven.

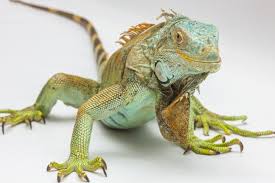
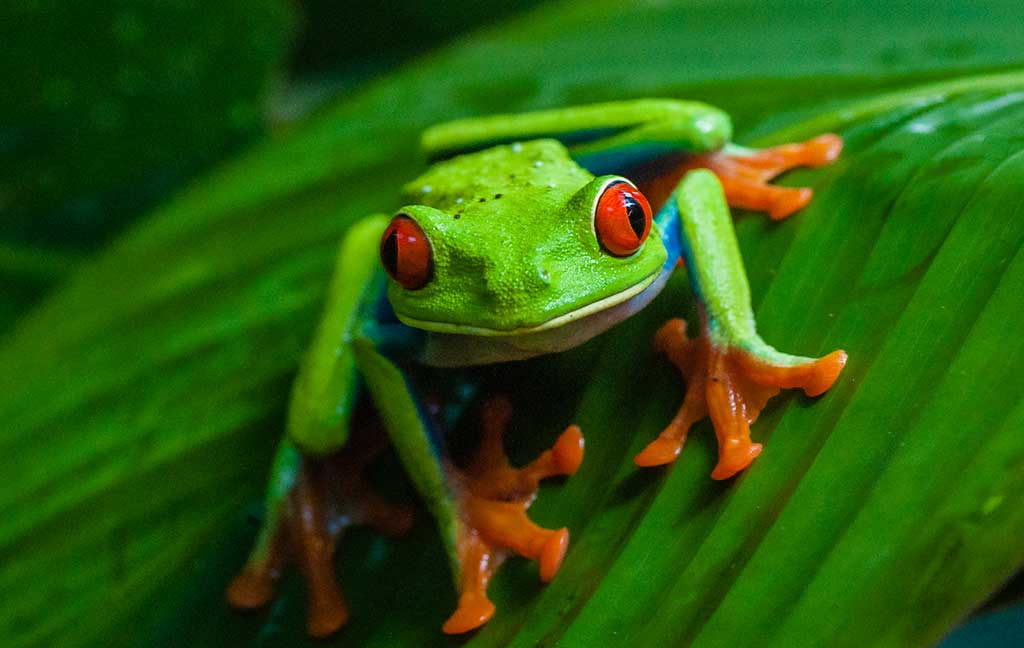
Elevate the care of your scaly companions with our premium selection of reptile cuisine, tailored for optimal nutrition and satisfaction. From specially formulated pellets to delectable insect treats, ensure your pet reptiles thrive with a diverse and balanced diet that mirrors their natural habits.

Hi, I’m Julie and I’m right on up there loving all animals! On behalf of Pet Supermarket Supplies, I’d like to welcome you to our blog where we have a collection of useful articles and advice, no matter what your choice of pet is! We are looking to build a community of animal lovers who will check out our blog on a regular basis whenever they need advice or just want to browse our news! Our store will be coming soon, so please watch this space! Feel free to reach out to us if you have any queries or suggestions and we will do our utmost to help!