Plan the Structure
 The first step in building a climbing frame for your hamster is to plan the structure. Consider the size of your pet and the available space in its cage. Think about the number of levels you want the climbing frame to have and what functions it will serve. Sketch out the design on paper to get an idea of what it will look like.
Materials Needed
Gather essential materials to ensure a smooth crafting process. You’ll need sturdy, untreated wood planks or boards as the primary structural component. Ensure the wood is free from harmful chemicals or treatments that could pose risks to your hamster and free from sharp splinters or rough surfaces that could harm your pet. Other crucial materials include wood screws for secure assembly, a saw for precision cutting, sandpaper to smooth rough edges, and non-toxic wood glue for added stability. Consider incorporating safe and pet-friendly paints or stains if you wish to add a splash of color. Before starting, double-check that all materials are free from toxins to create a safe and enjoyable environment for your hamster. Alternatively, if you want a simple climbing frame, you could use lolly or popsicle sticks to build a simple climbing frame – see instructions below.Building the Climbing Frame Structure Using Wood
Using a saw (adult supervision required), carefully cut the wood according to your measurements. Ensure precision to achieve smooth edges and a secure fit during assembly. Sand and Smooth Edges Prioritize your hamster’s safety by sanding the cut edges of the wood. This step helps eliminate sharp corners or rough surfaces that could potentially harm your furry friend. Assemble the Base Start with the base of the climbing frame, attaching the pieces securely using wood screws. This provides a stable foundation for the structure. Add Vertical Supports Incorporate vertical supports to create height and variety in the climbing experience. Secure these supports to the base using screws, ensuring they are evenly spaced for stability. Attach Platforms and Levels Introduce platforms or levels for your hamster to explore. Attach these securely to the vertical supports, creating a multi-level climbing experience. Secure Joints with Wood Glue Strengthen the frame by applying non-toxic wood glue to joints before securing them with screws. This extra measure ensures durability and stability. Paint or Stain (Optional) If you want to add a touch of color to your climbing frame, you can do so by using pet-safe paints or stains. Allow sufficient drying time before introducing the frame to your hamster. Inspect for Safety Thoroughly inspect the climbing frame for any potential hazards, such as protruding screws or loose components. Make necessary adjustments to guarantee your hamster’s safety.Build the Hamster Climbing Frame Using Lolly Sticks
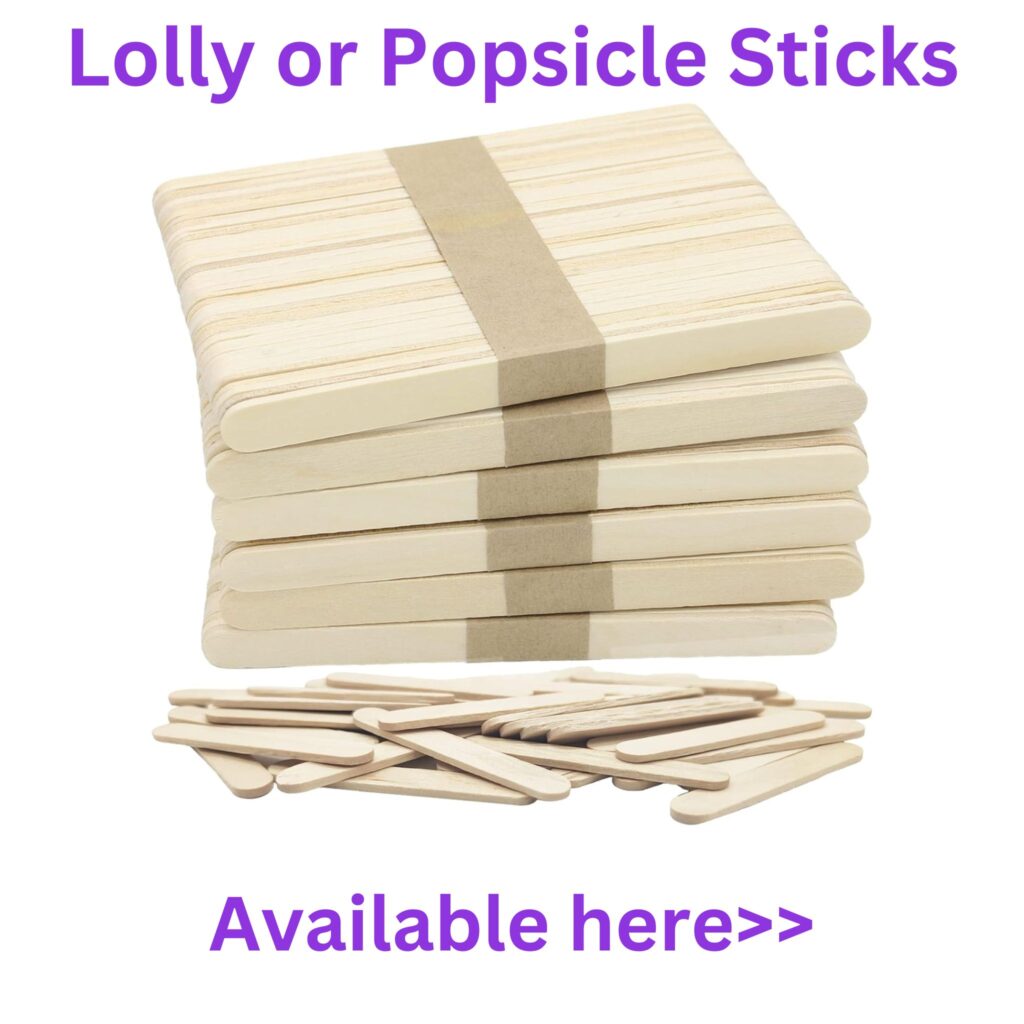
Alternatively, if you want a simple climbing frame, once you have sketched out your design, you could use lolly sticks or popsicle sticks to build a simple frame.
You can purchase these sticks online or at your local craft store. Make sure to buy pet-safe adhesive.
Set aside an hour or two to put the new frame together.
For a lolly stick playground, use eight lolly sticks side-by-side and glue a lolly stick stick at each end, which runs across all the sticks. This will be the top floor of the climbing structure. Make two of these frameworks and then glue one lolly stick at the bottom of the framework on each end to help stabilize the frame.
Hamster Climbing Frame Additional Features or Modifications
You could also enhance the climbing frames accessibility by building a hamster ladder or purchasing something for your pet to climb up from the ground level onto the platform and then add tunnels or interactive elements for mental stimulation. To build a ladder from lolly sticks, just reduce the space between the number of lolly sticks, line them up side-by-side, and glue a lolly stick on each end running lengthwise. This ramp could lead up to an empty toilet roll holder with a hole cut out, so they can easily slide in and move along to the next tunnel or climbing frame.Conclusion
By following these steps, you’ll be able to create a customized and secure climbing frame for your hamster which will provide physical and mental enrichment for your furry companion and hopefully, you will have fun to building it too! Remember to always use pet-safe materials and prioritize safety in design and construction for a happy and healthy hamster. It would be a good idea to supervise your hamster during playtime when you first introduce the climbing frame to their home. We would love to see your hamster climbing frame creations, please feel free to share your design on our >> Facebook page here.